How to create an NFT - a simple guide for creators
Select an NFT Marketplace
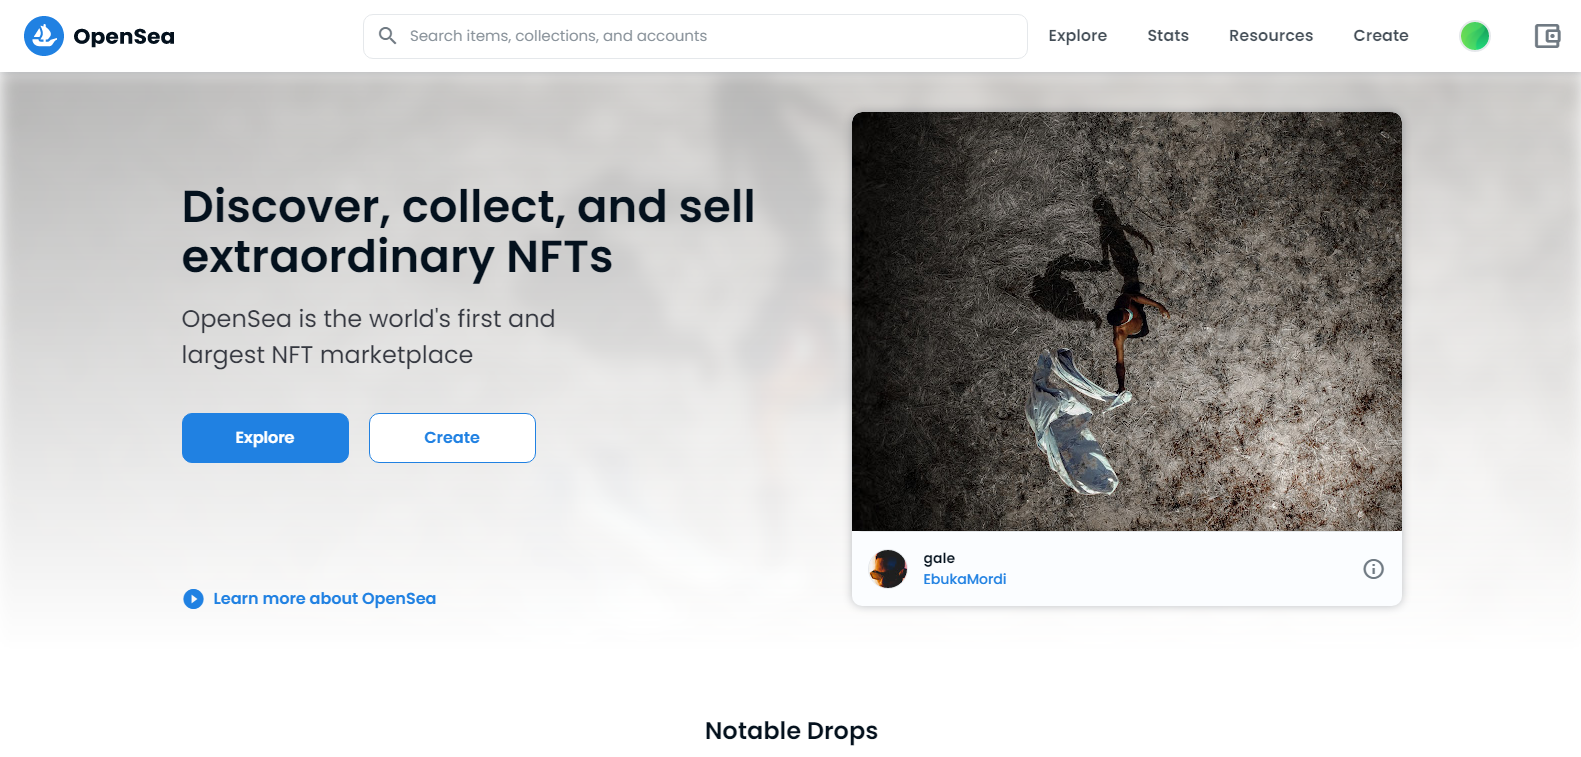
Creating NFTs is easier than it seems. Since OpenSea is one of the most popular NFT marketplaces, we’ll demonstrate the entire process of making NFTs on OpenSea itself.

Setting up your first NFT collection
To turn your digital art into NFTs on OpenSea (the process is similar on other marketplaces), log into your account using your wallet and click Create.
.png) You'll be taken to the NFT item creation page. There is quite a lot here, let's go in order:
You'll be taken to the NFT item creation page. There is quite a lot here, let's go in order:
Prepare your digital file
First, you need to import the file you want to turn into NFT. To do this, you can click on the square area (in the screenshot below). Above this area are the supported formats and the maximum file size.
Then pick a name for your collection.
.png)
Fill in the details
External link - here you can add a link to your site with your work or a link to more detailed information about a particular work. An optional field.
Description - description of your work. Also the optional field, but we advise you not to skip this field, the description plays a rather important role in evaluating your work.
Next, you’ll come across the Collection section where you may include or add your NFT under a certain collection name or type. This field is for those who already have several collections.
.png)
The next 3 fields are settings for the individual characteristics of your NFT, which are mainly used to find specific works in collections.
Properties are textual traits of the object, a kind of hashtags displayed on the sidebar, which will make it easier for users to find a specific work in your collection (for example, if you have a collection of characters, you can filter them by gender, hair color or clothes).
Levels - numerical traits that show as a progress bar, they will also be displayed in the sidebar.
Stats - numerical traits, for example, the date of creation of the work (not the date of the NFT mint, but the date of creation of the work itself).
Properties and levels make it easier for buyers to filter your work when exploring your collection, so add them where relevant. An example of a property would be ‘Year of creation’ – ‘2022’. These fields are all case-sensitive, so be careful with spelling if you’re trying to add the same attribute to multiple NFTs.
It’s also possible to add unlockable content that only the item owner can view. Examples of unlockable content include higher resolution files, contact info for redeeming physical items, access keys, links to the secret telegram chat, and more.
Explicit & Sensitive Content - indicate if the work contains 18+ content.
Supply - the number of items that can be minted, if you are creating a token for the first time, most likely only one will be available here.
Choose which blockchain you want to mint on. The opinions are the Ethereum blockchain and the Polygon blockchain. If you want to pay zero gas fees, choose the Polygon option.
.png)
Freezing NFT metadata
Freeze metadata - freezing your metadata will permanently lock and store it on decentralized file storage, which allows your data to be accessible for other clients to view and use. This means your item will forever be safely stored and will never be lost or missing.
Freezing metadata locks the following information about the file:
Item name
File type (JPG, PNG, GIF, SVG, MP4, WEBM, MP3, WAV, OGG, GLB, GLTF)
Description
Properties, levels, and stats
.png)
Once you're done customizing your NFT, click Create. Congrats, you've just made your first NFT!
Topics
Recent comments
